
There are dozens of people in the Davidson County living outside in the woods, under bridges, and in abandoned buildings. We can’t change their situations but we can do something to make it a tiny bit better.
Some people bowl, others paint, while others do things online in their free time. Some of us do all of the above. There are thousands of ways to spend our free time. We choose to take a little of our and give it to help others.
About 2 million plastic bags are used around the world every minute. It is estimated that it takes anywhere from 20 years to 500+ for them to decompose. We have a choice as to where some will be. We chose to give them a second life.
Materials Needed: Bags and Scissors

Materials Needed: Bags that have been cut.

Materials Needed: Frame loom, bags & balls.
Materials Needed: Milkshake straws cut bags.
Materials Needed: Crochet hook, cut bags, scissors.

Materials Needed: Wood, screws, saw, drill / money.

Lorem ipsum dolor sit amet, consectetur adipisicing elit. Sunt ut voluptatum eius sapiente, totam reiciendis temporibus qui quibusdam, recusandae sit vero unde, sed, incidunt et ea quo dolore laudantium consectetur!

Lorem ipsum dolor sit amet, consectetur adipisicing elit. Sunt ut voluptatum eius sapiente, totam reiciendis temporibus qui quibusdam, recusandae sit vero unde, sed, incidunt et ea quo dolore laudantium consectetur!

Lorem ipsum dolor sit amet, consectetur adipisicing elit. Sunt ut voluptatum eius sapiente, totam reiciendis temporibus qui quibusdam, recusandae sit vero unde, sed, incidunt et ea quo dolore laudantium consectetur!

Lorem ipsum dolor sit amet, consectetur adipisicing elit. Sunt ut voluptatum eius sapiente, totam reiciendis temporibus qui quibusdam, recusandae sit vero unde, sed, incidunt et ea quo dolore laudantium consectetur!

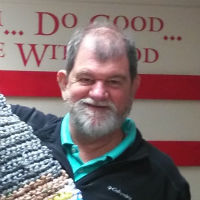
Lead Mat Maker/ Founder
Mat Maker/ Bag Cutter/ Looper
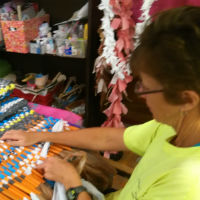
Frame Maker/ Bag Cutter/ Looper

Frame Maker/ Mat Maker
Mat Maker/ Teacher


Bag Cutter/ Seamstress


Bag Cutter/ Mat Maker


Bag Cutter/ Looper

Bag Cutter/ Looper

Bag Cutter/ Looper


Bag Cutter/ Seamstress/ Promoter

Whatever job you want to fill!
Join us Thursdays from 6:30 p.m. until 8:00 p.m. at 202 North Main Street, Lexington, NC. We are above the Triad PC Repair shop.
Are you a member of a group, club, organization or just a collection of friends that would like to help out with the project? Contact us and we will see about arranging for Amy or another volunteer to come out and show you group how to get started. Just drop us a line and we will get back to you. Please be sure to include your phone number and your email address. We value your privacy, you address will not be stored nor will you be added to any list.
Copyright © Plastic Bag Mats 2015One of THE most important jobs.
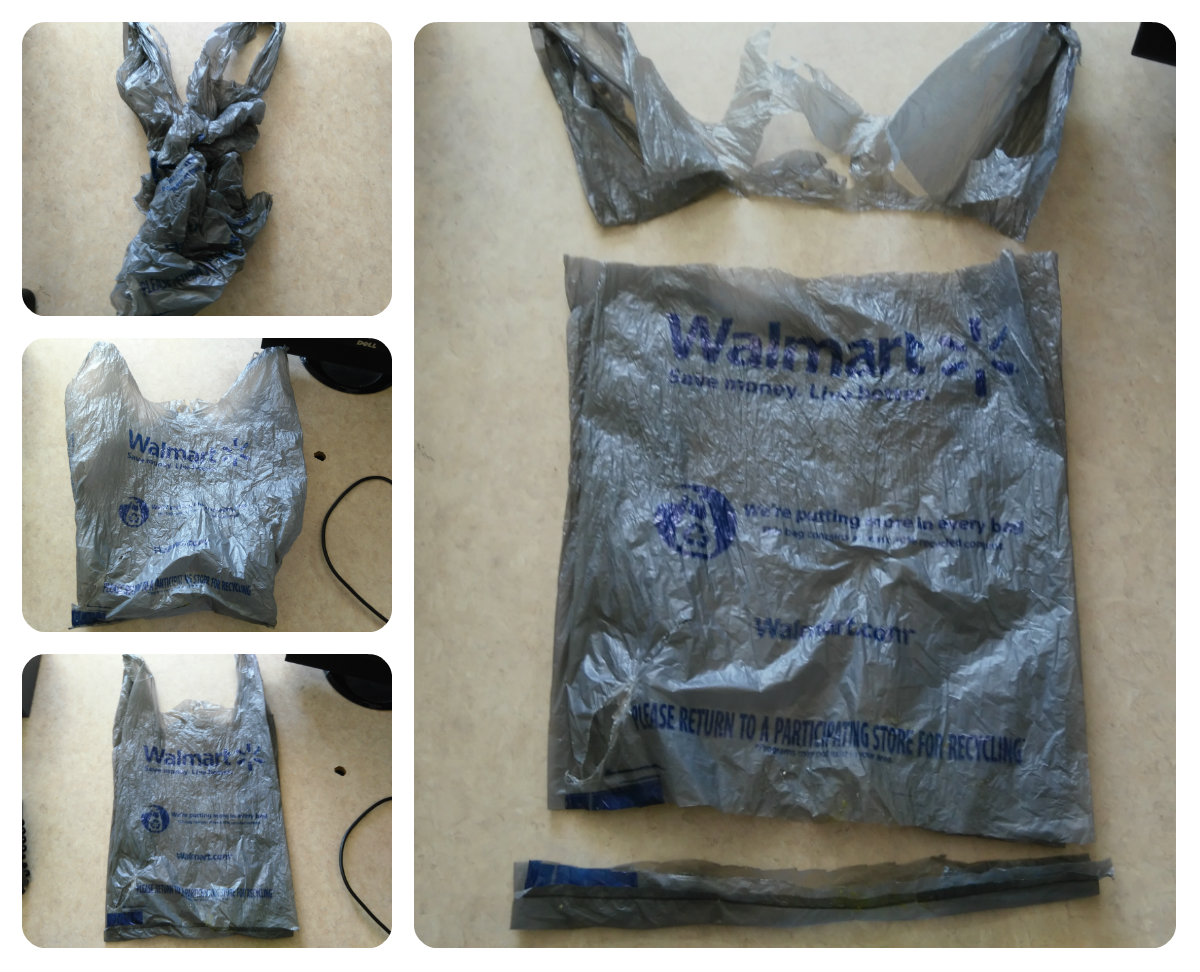
One of the most important parts in the process of making the sleeping mats is preparing the bags to be use. Before a bag can be woven or crocheted into a sleeping mat the bottom seam and the handles must first be cut off.
It takes between 500 – 600+ bags to make one mat. Cutting the bags into loops is one less step for the weavers/ crochetters to do. This step allow them to use their time to make mats . . . instead of processing bags.
Difficulty Level: Easy
Materials Needed:
Cutting Apparatus (Scissors, Rotary cutter & Cutting Mat, Guillotine Cutter)
Lots of Plastic Bags
Instructions:
Step 1 : Make sure all bags are uncrumpled, turned right side out, and flattened.
Step 2: Cut off handles and bottom seam
Step 3: Repeat until all bags are done.
If you don’t feel like cutting there are people who are willing to help cut your clean (no sticky, liquid, or meat juice) bags. Contact us and we will let you know when and where you can drop off your uncut bags.
Help weavers do what they do best. . . weave.
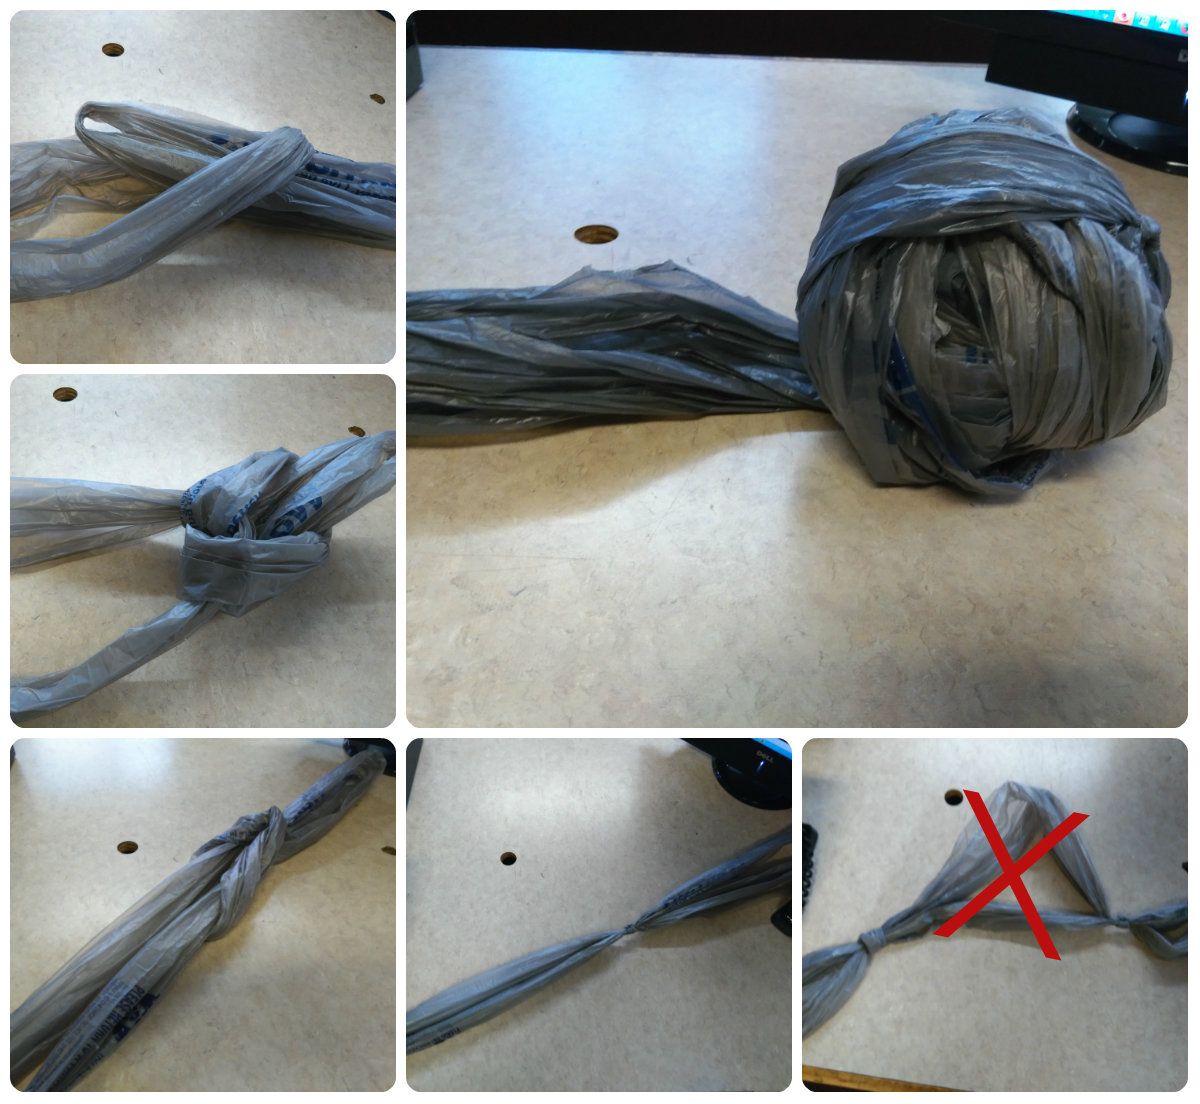
Cutting the bags is just the first step in the process of turning plastic bags into sleeping mats. The next thing is that they need to be loop together to string up the looms.
One quarter to one third of the bags that are used to make a mat have to be strung on the loom before the weaver can start weaving.
Looping bags together drastically reduces the time that a weaver takes to get there loom set up and ready to go.
Difficulty Level:
Easy
Materials Needed:
Bags that have had their bottom seams and handles cut off.
Instructions:
Step 1 : Open and stretch two bags so that they are long and narrow.
Step 2: Follow pictured instructions.
Step 3: Repeat until there are 28 bags looped together.
Step 4: Roll line of bags into a ball.
The fastest, most efficient method.
Sometime during my process of coming up with the idea of weaving mats on milkshake straws, I came across an amazing project taking place in Canada. It was a network of people turning milk storage bags into mats to be set to areas hit by natural disasters.
The thing that really got me was the rate at which they were making the mats. They were weaving mats at a rate of more than 5 mats a day. Now granted they have several groups and organizations (schools, clubs, senior centers, etc.) working with them and a network of locations collecting bags, but that is still amazing.
So they were encouragement in my search for a faster method. Now, you might ask, “Amy, why didn’t you just go from crocheting to weaving on frames?”
Good question. The honest answer is cost. I felt like in order for this to be successful, it needed to be duplicatable. There were people from all walks of life willing to help and I wanted to find ways for everyone to participate that didn’t require more than a nominal investment of money.
So I made about a half dozen mats on drinking straws. In early October 2015, we turned in the mats that we had made to a local charity that would be able to distribute them to the people in need. We had less than a dozen to give. I knew that would help those who would receive a mat but I felt badly for those who wouldn’t. So I decided to revisit the idea of weaving on a loom.
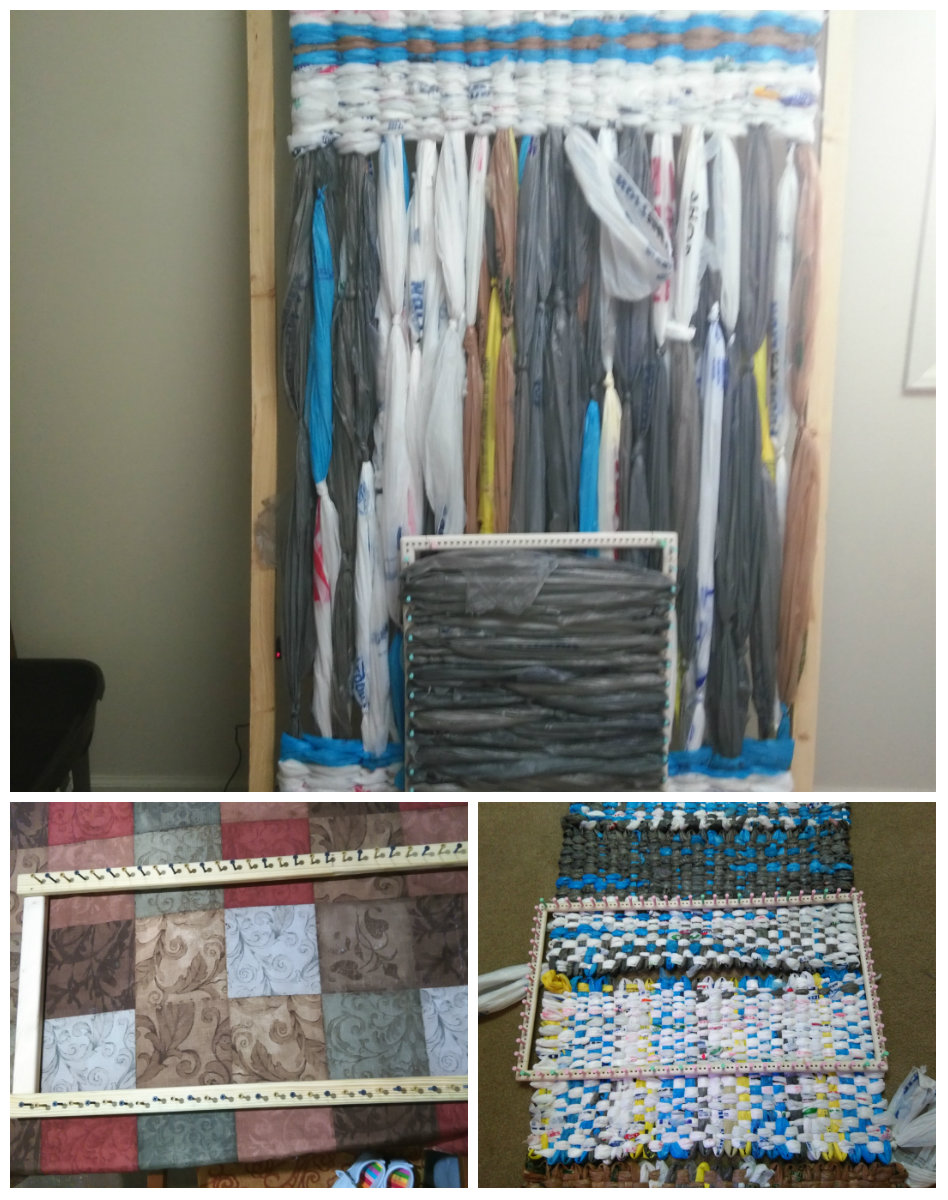
I first tried using my Martha Stewart loom kit that I had gotten some years before from Wal-Mart. That worked really well. I was able to finish a mat in less than a week. But I felt it could go faster. One of our computer clients came in and saw me weaving at my desk and volunteered to make me a wider wooden loom. After she did that I realized with an extra kit, I could make my loom double in size so I purchased another Marth Stewart loom kit from Wal-Mart. Put it together and was off to the races. I was able to weave a mat in about 10 hours with lots of breaks. I started in the morning and finished right before I went to bed.
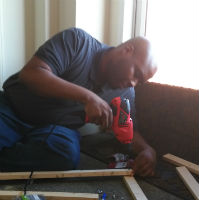
Maybe I should have been content. But I knew it could still go faster, so I decided to get my husband to help me make a full-sized wooden loom. In about an hour he had one made I strung it up and in about 3 hours I was more than halfway finished. The process of weaving is a little different as there are no pegs/screws on the sides. See below.
I tried the method I use to weave on the larger loom, on the Martha Stewart loom, that is weaving without looping around the pegs on the shortest side and found that it work and produced a thicker finished mat. I just had to be careful not to pull too hard or else the sides concaved in.
The neat part is that two people could work on the same mat at the same time. They can do this by making multiple rectangles and joining them if working on small looms. Or they and actually work on the same mat at the same time if using a large one. This greatly shortening the amount of time it takes to finish a mat.
Difficulty Level:
Easy
Materials Needed:
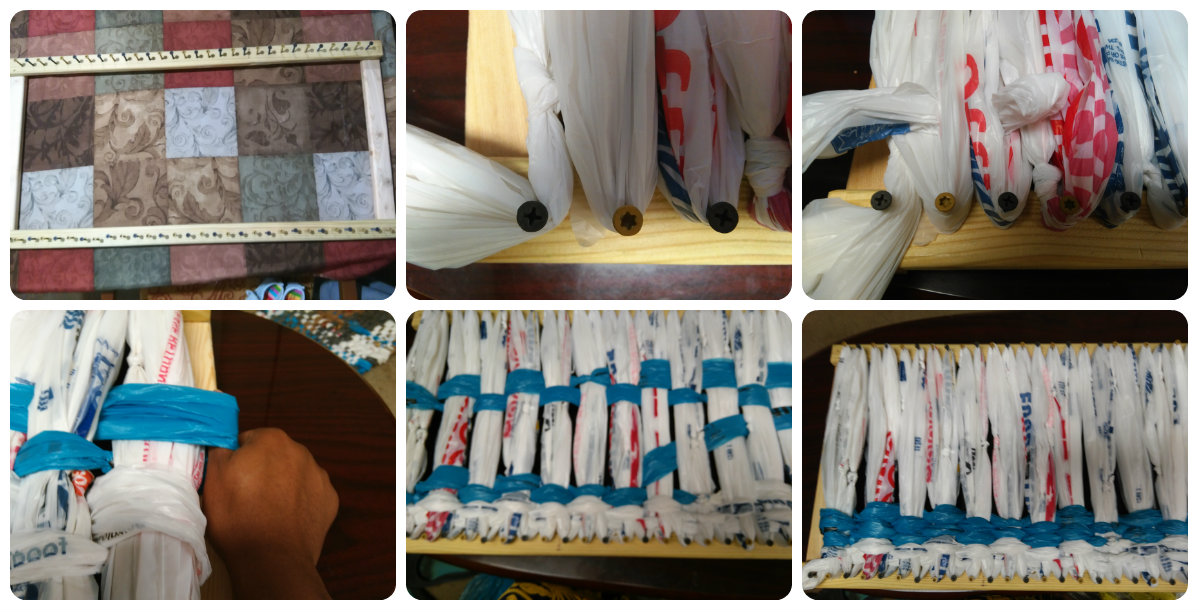
16 x 32 inch wooden frame loom or two (2) Marth Stewart Loom kits. If using a kit assemble loom so that it measures approximately 16 x 30 from corner to corner with pegs in every other space on all four (4) sides.
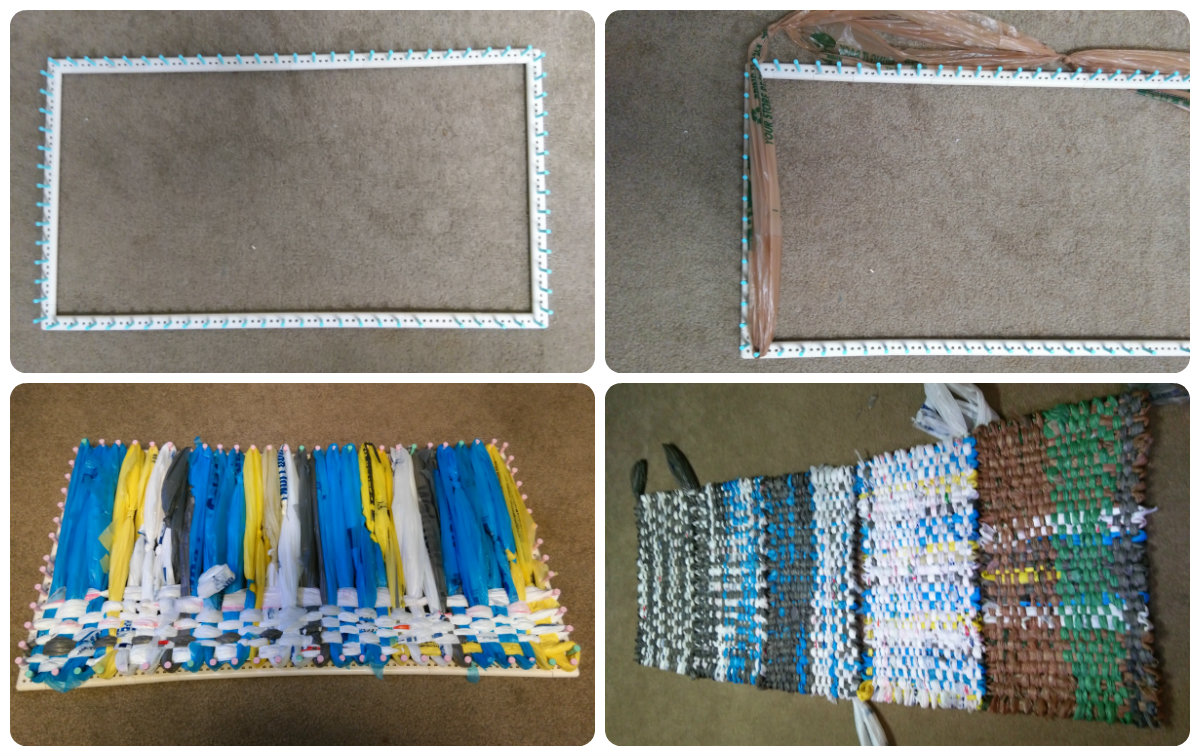
Step 1 : Loop plastic bags together until you have a chain or length of loops approximately 56 bags long.
Step 2: Hook the loop of the beginning chain over the first peg on the longest side.
Step 3: String the loom by wrapping the length of loops between all the pegs on the long side.
Step 4: When you reach the end turn around the first peg of the shortest side and start weaving. Over under over under. See picture.
Step 5:When you reach the other side, go around the peg. And start weaving in the opposite direction.
Step 6:When you get to the last row. Go through each of the eyes of the loops before removing from the loom so that mat doesn’t unravel. Leave about a bags length attached for weaving.
Step 7:Remove from loom. Repeat until you have made five (5) rectangles.
To Join: Lay two (2) mats together matching holes at the edge together. Using the excess bag whip stich across adding extra loops of bags as necessary. When you reach the end. Weave in excess along the edge.
Step 1 : Loop plastic bags together until you have a chain or length of loops approximately 56 bags long.
Step 2: Hook the loop of the beginning chain over the first peg on the longest side.
Step 3: String the loom by wrapping the length of loops between all the pegs on the long side.
Step 4: When you reach the end leave an inch of slack turn and start weaving. Over two, under two, over two, under two. See picture.
Step 5: When you reach the other side, leave and inch of slack. And start weaving in the opposite direction.
Step 6: Every couple of rows, push the bags down so that none of the warp threads (short threads running from top to bottom) are showing.
Step 7: When you get to the last row. Go through each of the eyes of the loops before removing from the loom so that mat doesn’t unravel. Leave about a bags length attached for weaving.
Step 8: : Remove from loom. Repeat until you have made five (5) rectangles.
To Join: Lay two (2) mats together matching holes at the edge together. Using the excess bag whip stich across adding extra loops of bags as necessary. When you reach the end. Weave in excess along the edge.
Summary: Despite the cons, I am still looking for ways to get as many wooden looms made and Martha Stewart looms donated. It is just faster. Time is important even if you are volunteering.
Click the link to download pdf instructions for making a 30” x 18” wooden lap loom.